Generate and Edit Images with AI
Create new images or modify existing ones using text prompts and @mention references
Overview
The AI prompt editor is the main way to create and edit images in Genko Comic. You type a description of what you want, and the AI draws it for you. You can also tell the AI to use your saved characters, poses, and images as references. Use it to generate new images from scratch or to edit existing images on your comic page. The prompt editor appears in three places: the comic editor, the image editor, and the character creator.
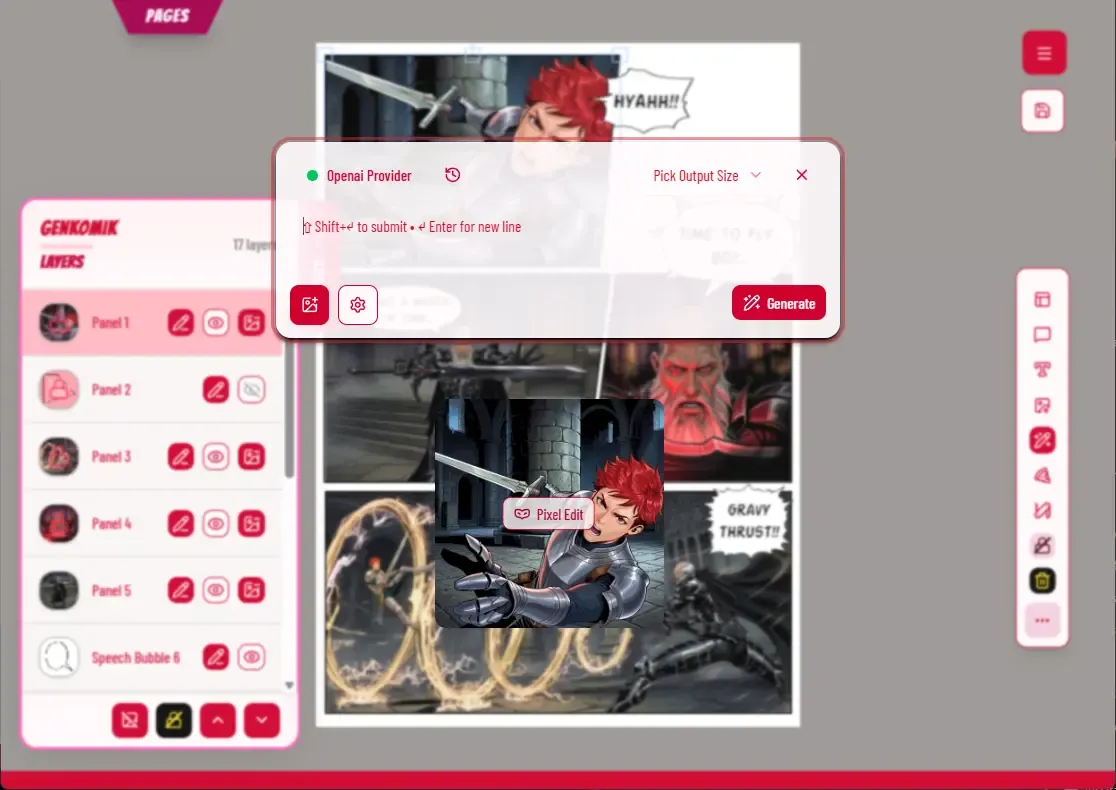
The Prompt Text Box
The prompt text box is where you type what you want the AI to draw. When you type @mentions, they light up in different colors so you can see which references are active.
- Submit button — the arrow button at the bottom-right sends your prompt to the AI.
- Shift+Enter — hold Shift and press Enter to submit your prompt.
- Connection indicator — the dot at the top-left shows if your AI is connected. Green means connected. Red means not connected.
- Image size — the dropdown at the top-right lets you choose how big the generated image will be.
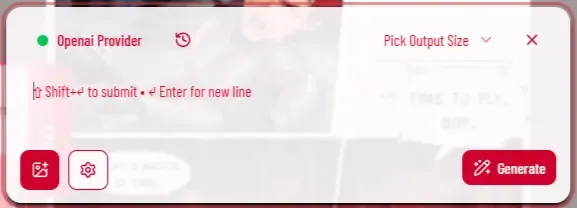
Using @Mentions
@mentions let you tell the AI to use your saved characters, poses, and images. When you submit your prompt, Genko sends your text together with the pictures you referenced.
Opening the Menu
Type @ anywhere in the text box to open a menu. The menu shows the things you can reference, based on what you have saved.
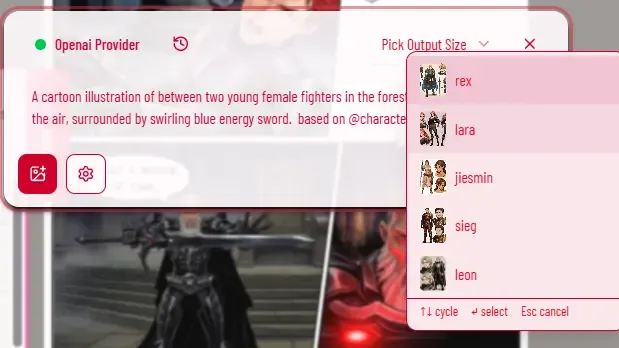
Preparing Your Things
Before you can use @mentions, you need to save at least one thing. The prompt editor will show you what is available based on what you have saved.
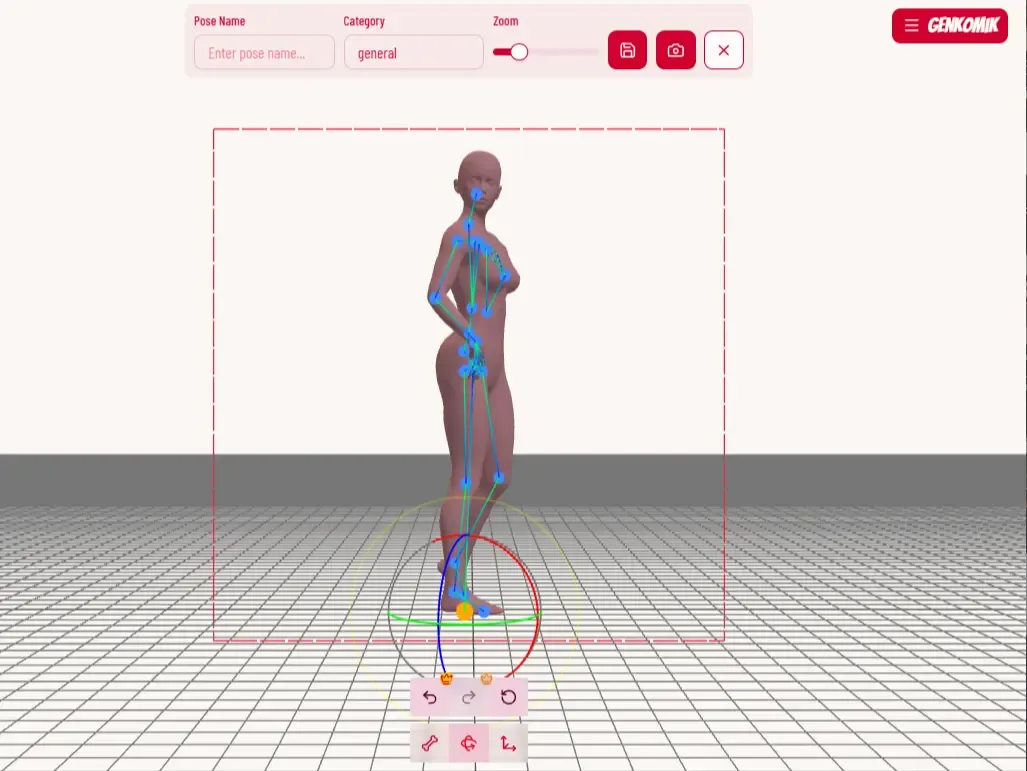
Saving a 3D Pose
To use poses in your prompts, you need to save at least one pose from the 3D Pose Editor.
- Open the 3D Pose Editor and move the character into the position you want.
- Click the camera icon at the bottom to enter photo mode.
- Type a Pose Name and optionally a Category (it says "general" by default).
- Click the Save button (the disk icon). Your pose is now saved and ready to use in prompts.
Saving a Character
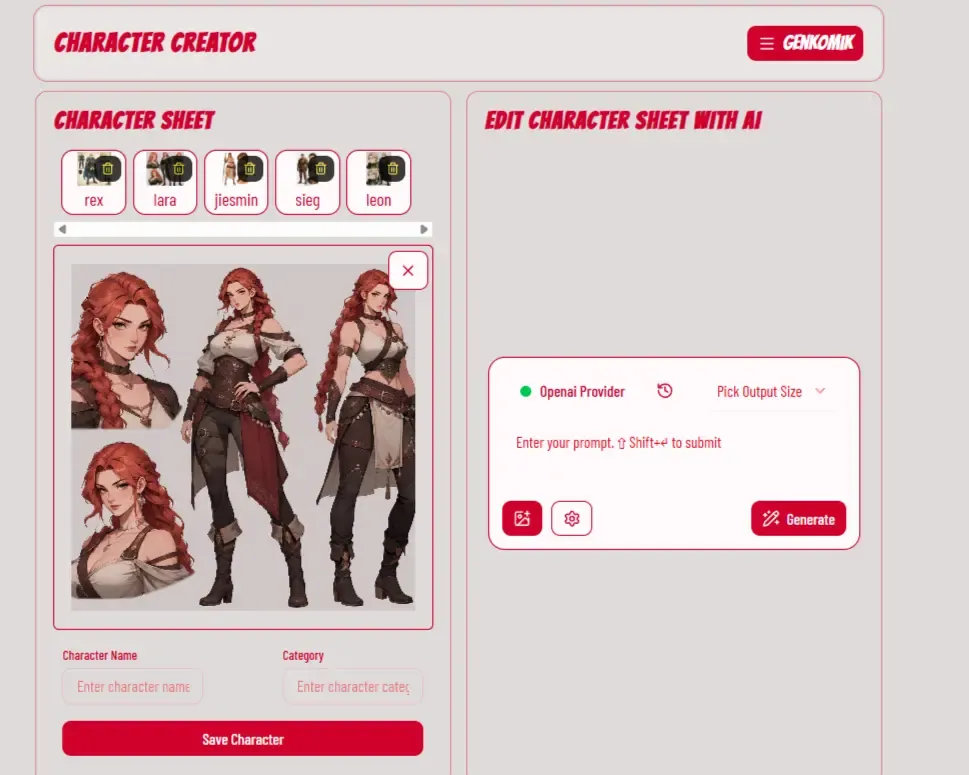
To use characters in your prompts, you need to save at least one character from the Character Creator.
- Open the Character Creator and upload a picture of your character.
- Type a Character Name and Category in the boxes below the image.
- Click Save Character. Your character is now saved and ready to use in prompts.
Uploading Reference Images
You can also upload images right in the prompt editor. These images can be used as references when generating new images.
- In the prompt window, click the upload button or drag and drop images onto the upload area.
- Your uploaded images will appear in the @mention menu right away.
How to Pick a Reference
Picking a reference takes two steps:
- Step 1 — Pick a type: After typing
@, choose a type likecharacters,pose, orimagesfrom the menu. - Step 2 — Pick a specific one: The menu changes to show the items of that type. Click the one you want.
For example, to use a saved character named "Alice":
A girl with @characters:alice walking down the streetOnce you pick it, @characters:alice turns purple in the text box.
Using the Keyboard
| Key | What It Does |
|---|---|
Arrow Up/Down | Move up and down through the menu |
Tab | Move to the next item |
Enter | Pick the highlighted item |
Escape | Close the menu and remove the @mention |
You can also click outside the menu to close it, or click on an item to pick it.
Searching for Items
After you pick a type (like @characters:), start typing to search by name. For example, typing @characters:al will only show characters whose names start with "al".
@Mention Reference Types
Here are the different types of things you can reference in your prompts. Only the types you have saved will show up.
| Type | Where It Comes From | What It Does |
|---|---|---|
@negative: | You type it | Tells the AI what to avoid. You can only have one negative section per prompt. |
@characters:id | Saved Characters | Uses a saved character's picture as a reference for the AI. |
@images:id | Uploaded Images | Uses an uploaded image as a reference. These only stay while the prompt window is open. |
@pose:id | Saved Poses | Uses a saved pose as a reference so the AI draws the character in that position. |
@reference:image | Your Drawing | Uses what is currently on your comic page as a reference. |
Color Coding
Different types of @mentions show up in different colors so you can tell them apart at a glance:
| Type | Color |
|---|---|
@negative: | Orange background, dark orange text |
@characters:id | Purple background, dark purple text, underlined |
@worlds:id | Blue background, dark blue text, underlined |
@pose:id | Pink background, dark pink text, underlined |
@images:id | Purple background, dark green text, underlined |
@reference:id | Pink background, dark green text, underlined |
Example Prompts
Here are some examples to help you get started:
Just Text
A samurai standing on a cliff at sunset, dramatic lighting, detailed armorNo @mentions here. The AI just uses your words to draw the image.
With a Character
@characters:alice wearing a red dress, sitting in a cafe, warm lightingThe AI uses your saved character "Alice" as a reference for how the person should look.
With a Pose and Character
@characters:bob in @pose:fighting stance, action scene, dynamic angleThe AI puts your character "Bob" into your saved fighting pose.
With Things to Avoid
A knight in shining armor, heroic pose @negative:blurry, low quality, extra fingersEverything after @negative: tells the AI what not to do. You can only use this once per prompt.
Using Everything Together
@characters:alice and @characters:bob having tea in @images:garden_scene, peaceful afternoon, detailed background @negative:blurry, deformedThis uses two characters, an uploaded image, and a negative section. The order matters — things listed first have more effect.
What Happens When You Submit
When you click submit, here is what Genko does:
- Reads your prompt and separates what you want from what you want to avoid.
- Finds all your references and collects the matching pictures.
- Sends everything to the AI — your text plus all the pictures you referenced.
Where to Find the Prompt Editor
You can open the prompt editor from three places:
- Comic Editor — pick a panel you want to add an image to or edit with AI. Press Ctrl+Enter or click the sparkle button in the comic command bar to open the prompt.
- Image Editor — click the AI generate button in the toolbar. The prompt window will pop up. Use it to generate a new image from scratch or to edit the current image with AI.
- Character Creator — the prompt editor is built into the character creator for making or changing character pictures.